


Not hard to imagine that it he began making pizza in his adulthood. Nor was I surprised when I found photos of his Sunday night creations on the My Pie Monday feature of the Serious Eats blog. http://slice.seriouseats.com/archives/2010/06/my-pie-monday-paul-ts-prociutto-arugula-and-shaved-parm-pizza.html?utm_source=feedburner&utm_medium=feed&utm_campaign=Feed%3A+feedmeaslice+%28Slice%29paul-ts-prociutto-arugula-and-shaved-parm-pizza.html?utm_source=feedburner&utm_medium=feed&utm_campaign=Feed%3A+feedmeaslice+%28Slice%29
So how do I reap the benefits of having a brother who is thus gifted in the art of pizza? I invite myself over to learn his secrets (share them too I might add) and eat a little pizza myself. (Maybe more than a little.)
When I arrived it looked like he had already started. (‘How could you! You are to keep no pizza secrets from me, your own flesh and blood!’) He assured me that he had only just begun seeding the tomatoes.
Here he uses canned whole plum tomatoes. He strains them first to separate out the tomato juice from the actual tomato. The tomatoes are broken apart by hand and separated. Then you can add the juice back into the tomatoes to taste. It will thin out your sauce so that you can get the right consistency for your pizza. (Too thin? You can cheat and add tomato puree, although Paul insists he never does.)

Then add basil from your herb garden. Or, if you are a city dweller like myself, your windowsill, or the supermarket. He also adds, Italian seasoning, garlic powder and salt. If your tomatoes are not sweet, you may want to cheat and add sugar.

This is the starter. This mixture of approximately 1 cup flour, ¾ of a cup of water and yeast is kept in a mason jar in their fridge. “Feed it when you want to use it,” my brother says. The culture tends to go dormant. “Feeding it” means pouring out half of this mixture and adding another 1 cup of flour and ¾ of a cup of water. This will reactivate the yeast. When the starter has grown 2 inches it is ready to be used. The longer you wait before “feeding” the starter the longer it takes to wake up. Rest assured…this is not a problem at Paul’s house. They don’t go more than a week before making pizza again.

Paul has a couple of types of yeast that he prefers: One from Naples and one from Ischia. Both are found at sourdo.com

These are your pizza peels. The wooden one is to put the pizza in your oven and the metal one is to take it our. Of course if you are going to have only one, the wooden peeler will suffice. The metal will stick to raw dough but it does get under a hot pie more easily.

It is key to flour the wooden peel so that your dough doesn't stick and spreads more easily. Very little flour is needed. Paul distributes the flour evenly onto the wooden peel and then brushes it off. What you are left with is a light flour coating on your wood.


Paul spreads out the dough in rapid, circular movements, sometimes patting and turning it like a wheel.


There is no trick to putting the toppings on the pizza but care should be given to shopping for them. Like most of Italian cooking, pizza does not have a vast number of ingredients so you should make them count. Fresh and flavorful vegetables and herbs paired with good quality cheeses and (or) meats.
Paul made three pizzas for us on this day, the first being a Margherita. A Margherita is what comes to mind when you are looking for a classic Italian pizza, tomato sauce, basil, and mozzarella. No more no less. The pizza bakes at 500 degrees for roughly 10 minutes. Before you take it out you will get these beautiful lava-like, air bubbles.

Here is the key to an awesome Margherita…low moisture, fresh mozzarella. (This one is from Valley Shepherd Farms (NJ). It is soooo good.) It has a denser consistency then the type that comes in a tub of water. Less water means there is less moisture to make the center of your pizza soggy and it is great for melting.

The second pizza was topped with arugala that had been dressed lightly in olive oil, lemon and salt, ricotta salata (from Murrays' Cheese Shop in Grand Central Station in case you are wondering), fresh tomato sauce and cured breasiola.

The last pie had mushroom, fresh tomato sauce, cacio cavallo (also found at
Murrays' Cheese Shop)
, and truffle salt. Three earthy flavors that compliment each other well. Cacio cavallo is a southern Italian, gourd shaped cheese made from raw cow’s milk. It is salty and sharp.
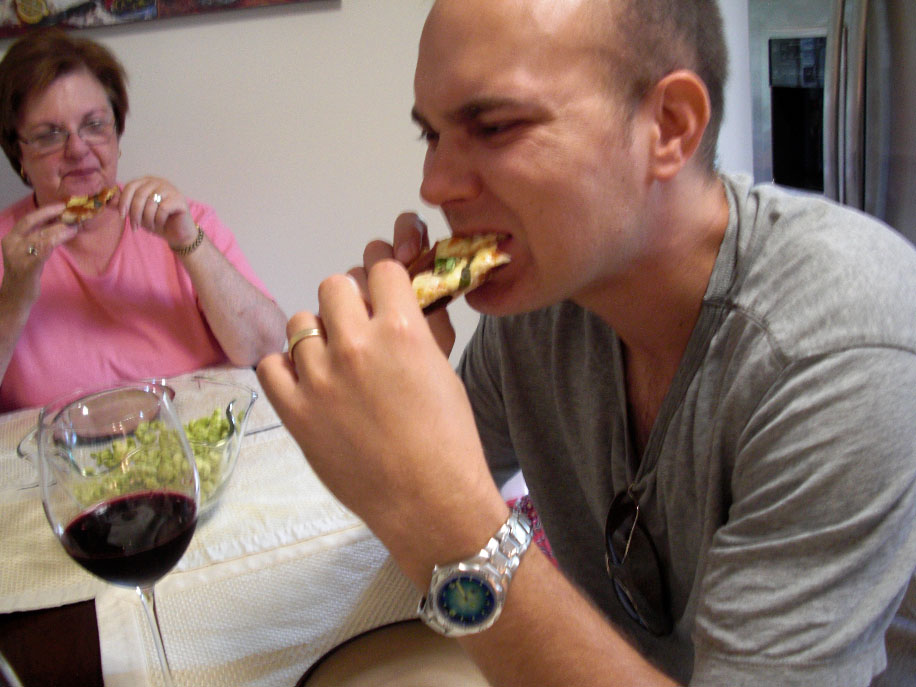

Pizza bliss! Thanks, Paul. Glad we could all benefit from your food obsession.
Beautiful pizzas! I've never made one from scratch, but these look amazing, especially the arugula topped one.
ReplyDeleteGreat post. If Paulie Tee ever wants help building a pizza oven, let him know I'd be happy to offer him encouragement and support.
ReplyDeleteSo good to meet you last night! Thanks for stopping by my blog. We will see you on out next pizza binge!
ReplyDeleteThis guy KNOWS pizza, okay?
ReplyDelete