Showing posts with label graphics. Show all posts

Wednesday, May 9, 2012

A Fresh Look for Kitchen Chairs

I love my kitchen.  I don't mean I love kitchens.  I do, of course but that is not what I mean to say here.  I mean I love my kitchen.  After 15 years of living in Brooklyn I have been blessed with a dream kitchen.  It is spacious enough for a dining table and over looks the building's flower garden.  All of you jealous city dwellers feel comforted by the fact that I was once in your shoes.  In most of my Brooklyn kitchens I had to lean against the wall in order to open the refrigerator door.  Thanks to a generous stroke of good luck (proceeded by a few strokes of bad luck, which is a story we will save for another day) we are able to enjoy a well lighted, well cared for and spacious kitchen.  I will say that I did the same kind of cooking in my tiny kitchens as I do in this one and never shied away from dinner guests or parties.  It is possible, it just poses different organizational challenges. 

As a textile designer this is my favorite time of year.  At work we are scoping out new trends in colors patterns and fabric construction.  Spending a day in the fabric district, shopping and learning about new fabric styles and techniques feels a lot like when my Uncle Nino gave us free reign in his pastry shop. I can't help but bring a little of what I see home.  

I like updating the look of my kitchen with a rotation of textiles.  This works well particularly since our kitchen is mostly white and neutral.  Reupholstering these chairs has been on my project list for a while.     I found this fabric at Mood Fabrics.  If you haven't heard of Mood, it is an overwhelming 3 floors of gorgeous fabrics and popular among designers and trendy design students (largely form FIT).  So for this project, let me narrow it down for you, head downstairs. For a richer look, go with a fabric that is woven vs. printed. The printed fabrics at Mood are beautiful but on furniture the woven will give a more upscale look.  I like take to take a bunch of swatches to see what works best in my home.  

I haven't reupholstered chairs before but it was surprisingly easy.  If you are thinking of recovering your own chairs you will need the following supplies:
  • one pair of good quality fabric scissors
  • measuring tape
  • a staple gun with extra staples
  • 1 and 1/2 yards of fabric for 4 chairs
  • 1 fabric crayon
  1. Flip over your chairs and find how the seat is attached to frame.  For these chairs there were 3 simple screws that were easy to remove and put back.  I would recommend doing one chair first before taking the seats off of the other chairs so that you are comfortable with the process before you continue.  It is easier to fix a mistake once than four times.
  2. Measure how much fabric you will need to cover the seat of the chair.  Make sure you leave enough room to staple the fabric on the back.
  3. Staple the fabric to the back of the chair.  Staple once on each side of the seat directly across from the last staple.  Continue stapling in this order.  When you get to the corners, create a neat fold in the fabric and then staple. Make sure all of your folds are consistent and facing the same way.
  4. Reattach the seats to the frame.

Before
After


Tuesday, April 24, 2012

Mise En Place: Tea Towels from a Vintage Tablecloth


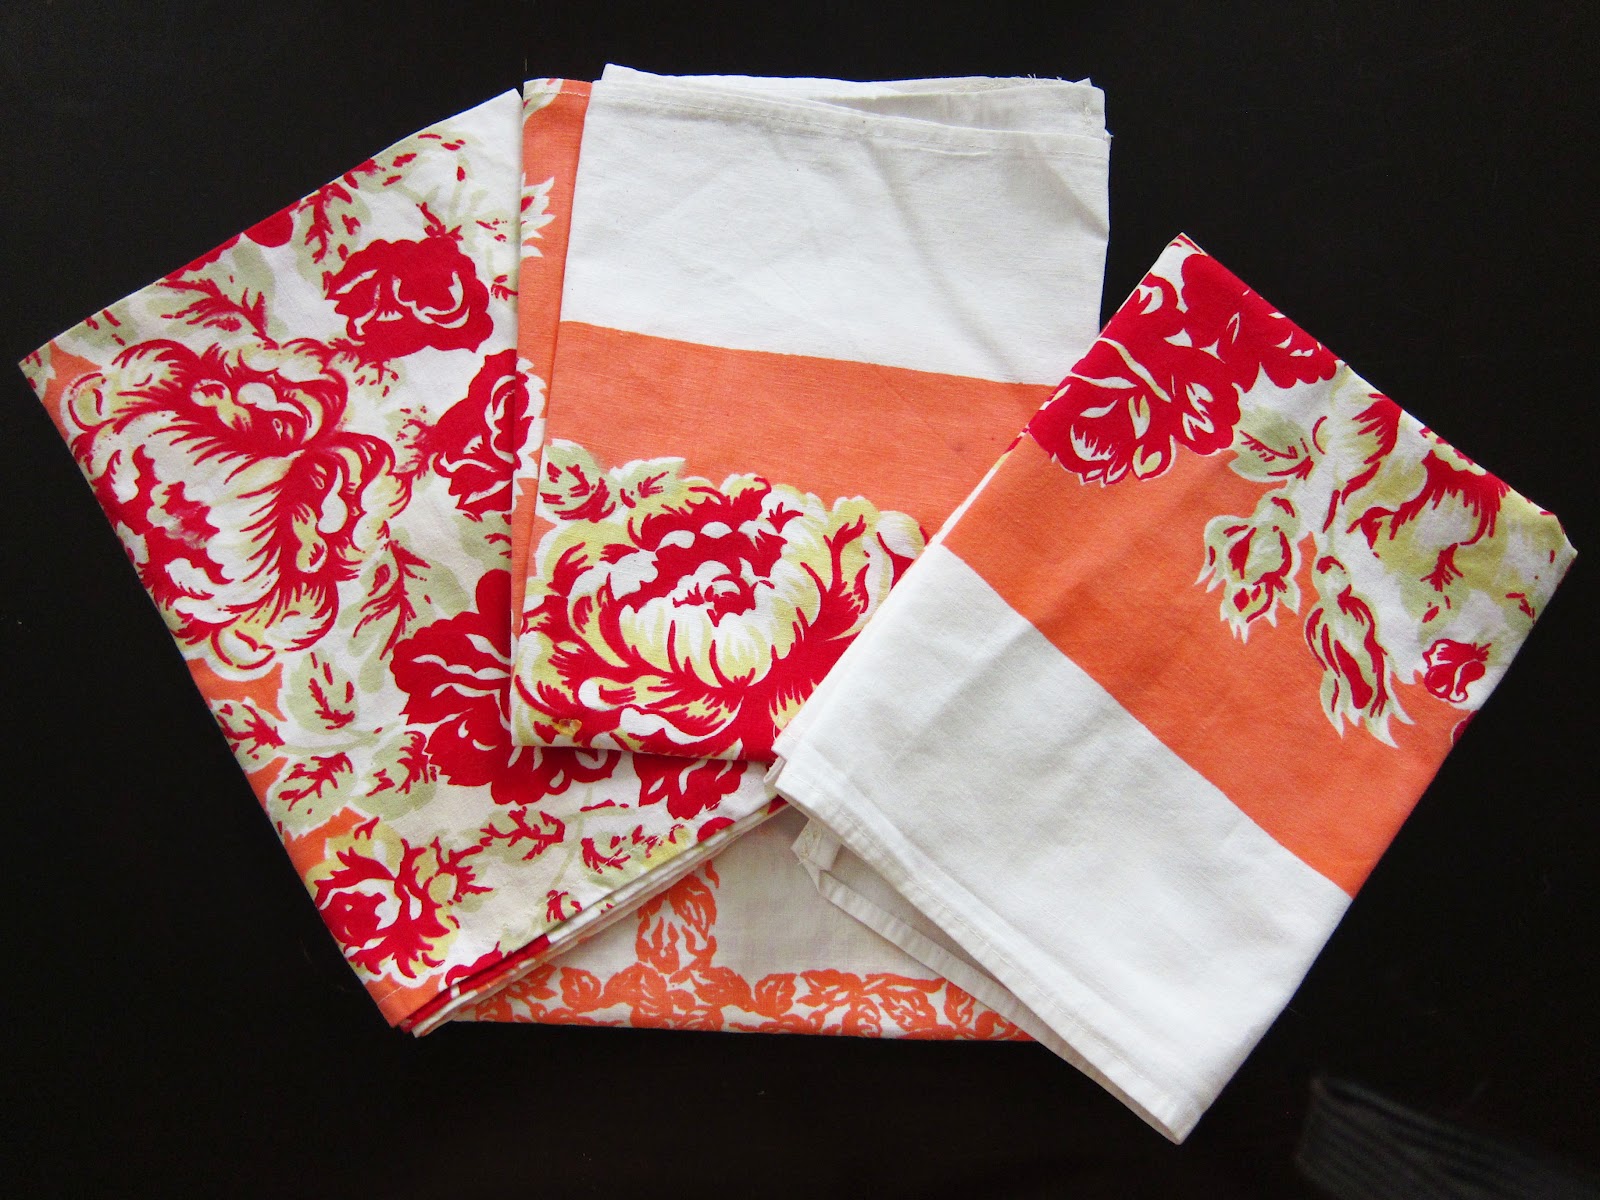
I had this tablecloth for years.  It had been well loved and was showing it.  A spot of wine here and big yellow stain in the corner, but I just couldn't throw it out.  It is already hard for me to throw out anything I feel like I can make use of but this had sentiment as well.  It was given to me after having been in the wedding party for my friends Ben and Erin (see Ben's awesome food blog You Fed a Baby Chili?).  I remember Erin planning her wedding and ordering a different vintage tablecloth for each table.  Afterward, she and Ben sent the tableclothes to select family and friends.  I loved this tablecloth and I loved being among the ones they gave it to.  Just look at the pop in those graphics!

In the spirit of being green I have been teaching myself to sew.  The process is slow going I must say.  I  also have to say that it is mighty silly that I work in textile design and I don't know how to sew.  So I have started with simple projects.  Some successful and some not but this was an easy success.  I turned my stained but loved cotton tablecloth into a charming set of tea towels.  No need for a pattern for this job.  I just used an older tea towel for the size, folded the cut edges over twice at 1/4 of an inch and used a straight stitch.

For good deals on vintage tablecloths, fabrics and tea towels check on ebay or etsy.


Friday, February 17, 2012

Printable Spice Labels!


These labels are 1" x 2 5/8".  So here is how you can print your spice labels below:

  1. Double click on the image below.
  2. Then right click and you should see a window of choices.
  3. Select print.
or

  1. Double click on the image below.
  2. Click on File tab
  3. Select print.

Tuesday, December 13, 2011

Printable Holiday Menu Planner Giveaway!


So here is how you can print your holiday meal planner below:
  1. Double click on the image below.
  2. Then right click and you should see a window of choices.
  3. Select print.
or
  1. Double click on the image below.
  2. Click on File tab
  3. Select print.

Monday, November 7, 2011

Printable Weekly Menu Planner Giveaway!


Happy Fall!

So here is how you can print your weekly meal planner below:
  1. Double click on the image below.
  2. Then right click and you should see a window of choices.
  3. Select print.
or
  1. Double click on the image below.
  2. Click on File tab
  3. Select print.

Monday, October 17, 2011

Harvest Fundraiser

  My dear friend, Janice and I will be cooking a fundraising luncheon to help raise money for the Food Bank of NY.  Come eat some good food and help someone else eat at the same time.  If you read this blog and you a local, or visiting we hope you join us!

Wednesday, September 21, 2011

Printable Weekly Menu Planner Giveaway!

Planning my dinners at the beginning of the week has helped me immensely as a home cook.  I still have weeks where I fall behind, but when I am organized enough to take a few minutes at the beginning of the week to write out a meal plan, it saves me time. money and headaches.  It is important to me to cook at home, not only because I love to cook but it keeps us healthy and our pocketbooks happy. 

So here is how you can print your weekly meal planner below:
  1. Double click on the image below.
  2. Then right click and you should see a window of choices.
  3. Select print.


If you have other ideas that help the process of making meals at home easier, please let me know.  I would love to hear from you!

Monday, August 8, 2011

Foodie Gifts: Fudge Brownie Recipe in a Jar


This isn't the first time I gave a foodie gift in a jar.  Once when asked of what she'd like for Christmas, an aunt of mine said that she always liked "consumables."  I personally could not agree more but you could chalk that up to our small living space.  Food can make a great gift and it is inarguable a consumable.

The first year I gave gifts of tasty goodies in a jar was Christmas 2008.  Like many others, it was an economically tight year for us and I was re-evaluating our culture of consumerism.  I thought a lot about all that had been bought and wasted in our lives and our society.  I should mention also at this time Nick and I had just been married with yours truly as both bride and wedding planner.  Which means we had a ton of leftover stuff from having bought everything we needed for the wedding a'la`carte.  Things like card stock from home made invitations to silk flowers to alcohol and cocktail swizzle sticks.  Four months later we had more vodka than we reasonable could (or should) consume.  I started giving gifts of flavor infused vodka for the holidays.  Than later pickles from the vegetables from our CSA share.  I would like to think I am getting better at which kind of tasty jar is right for which kind of foodie friend.

On to the present.  After all, there are no cranberry vodkas or pickled green beans in this post.  But this year's news of my becoming an aunt has set my creative gift making gears in motion.  Making things (food or other) has always been a way in which I show affection.  So for my sister-in-law, Stacie's baby shower, I found those old party planning shoes in the back of the closet.  The ones I wore when I decided to make my own invitations, table cards and wedding favors.  The result?  Fudge Brownie mix in a jar as favors for all the guests.  I think most of us there had a fond memory of baking something sweet with a parent or grandparent.  I hoped this helped keep that tradition going.  If you don't want to make thirty they also make a nice gift for one.

Fudge Brownie Mix in a Jar


1 1/4 cup all purpose flour
1 1/4 cup sugar
1 teaspoon baking powder
1 teaspoon salt
2/3 cup cocoa
1/2 cup chocolate chips

Affix these directions to your jar:

1.  Preheat the oven to 350 degrees F.
Grease and flour a 9x13inch baking pan.

2.  Empty the jar of brownie mix into a large mixing bowl,
and stir to blend. In a small mixing bowl, combine 3/4 cup
melted and cooled butter with 4 eggs, then add mixture to
brownie mix. Mix all ingredients thoroughly. Spread batter
evenly into greased baking pan.

3.  Bake for 25 to 30 minutes in preheated oven.
Cool completely in pan before cutting into squares.